
My card needs a nice envelope and fortunately it is small enough that a regular sized piece of cardstock will give me an envelope big enough for the card. I found that the hardest part of making this envelope was not confusing the sides. A couple of times I cut from the wrong side and had to start again.
Once you get the hang of it, however, it’s pretty easy. For this demonstration I just used plain yellow paper but cardstock or scrapbook paper is a better idea for stability.
To figure out how large to cut your cardstock, follow these steps. Don’t be afraid, it’s pretty simple math.
- Take the height measurement of your card plus ¼ inch (to allow room to fit the card inside of the envelope) plus 4 ½ inches (2 inches for the top flap and 2 ½ inches for the bottom flap). In this case:
i. 3 ¼ + ¼ +4 ½ = 8
- Next, take the width measurement of your card plus ¼ inch (again to allow room for the card to slide in) plus 2 inches (1 inch on each side for the side flaps). In my case:
i. 4 ½ + ¼ +2 = 6 ¾
So, make your rectangle 8 inches by 6 ¾ inches. Sides A and C are 6 ¾ inches.

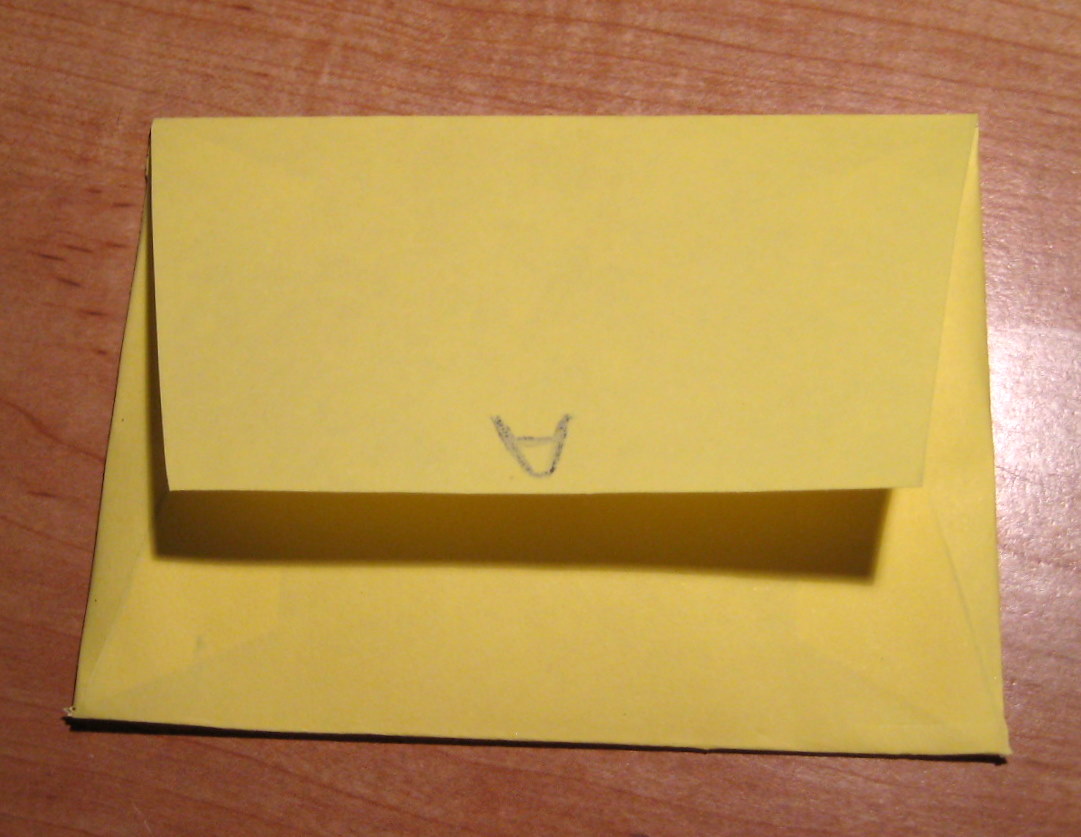
- Switch out your cutting blade for the scoring blade if your cutter has one. Make sure the 6 ¾ inch long side is along the top of the ruler (Side A). Measure in 1 inch from the edge and score. Turn the paper so Side C is at the top (see picture below) and score a line 1 inch from the edge.

- Turn the paper so that the 8-inch edge is along the top at the ruler (Side B). Make the first score line in 2 ½ inches from the edge. 3291
Then turn the paper so that Side D is along the ruler and make a score line 2 inches from the edge.
- Cut out all four corners. The corners have X’s on them.


Now you can do two things from here. Well, you can do a lot more than that of course, but here we’re talking about only two options. You can leave the paper as is and fold in the sides then glue up the bottom. Or you can make it a little nicer by adding diagonal cuts to the sides. Here’s how to do the diagonals.
- I start by measuring in ½ inch from the corner and then connecting to the incut corner on the nearest side. For example, I measured in ½ inch on Side A then drew the line do to the corner of Side B.


Do this to all of the corners.
- Cut along all of your lines.

- Fold in the two sides and glue the bottom to each side.

- If you prefer a small top to your envelope, you can feel free to switch Side A and Side D.
2 comments:
Wow, a simple envelope doesn't look so simple....!
Hey Becky. I think it might look difficult because there are so many pictures, but it's really quite easy. I always like good visuals even for easy things, lol.
Post a Comment